Your First Scene
Place a shape, move it, color it, and save your work — five minutes, start to finish.
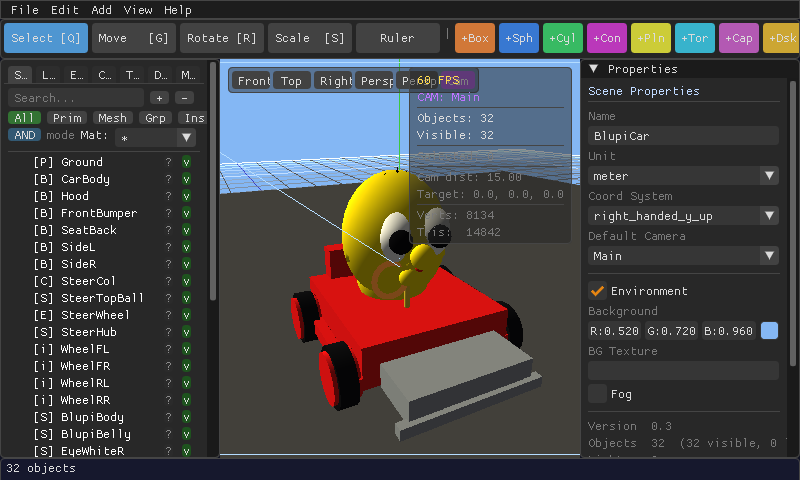
- Start a new scene Press Ctrl+N, or use File → New. You'll get an empty viewport with a ground grid.
-
Add a shape
Click the
+Boxbutton in the toolbar, or press F1. A box appears at the center of the scene and is automatically selected. (F2–F5 add a Sphere, Cylinder, Cone, and Plane; everything else is under the Add menu.) - Look around Middle-mouse drag orbits the camera, right-mouse drag pans it, and the scroll wheel zooms. Press F at any time to snap the camera back to your selection.
- Move it Press G (or click Move in the toolbar), then drag one of the gizmo's colored arrows to slide the box along that axis. Click away from any arrow and drag to move freely in the view plane.
- Rotate and scale it Press R for Rotate or S for Scale — same idea, drag a ring or handle. Hold Ctrl while rotating to snap to 15°/45°/90° angles.
- Made a mistake? Undo it Ctrl+Z undoes, Ctrl+Y redoes — up to 20 steps back, covering every kind of edit.
- Give it a color With the box selected, open the Mat tab (or the Properties panel on the right) and change its base color. See Materials & Lighting for roughness, metallic, and glow.
- Add a second shape and combine them Try F2 for a sphere, move it so it overlaps the box, then peek at Combining Shapes (CSG) to cut or merge them together.
-
Save your scene
Ctrl+S saves; the first time, you'll be asked for a filename ending in
.mc3.xml. Ctrl+Shift+S is Save As, for saving a copy under a new name.
Handy habits
Hold Shift while dragging with the Move tool to snap to another object's position. Toggle the gizmo between world-space and local-space axes with the World/Local button in the toolbar. Press Ctrl+D to duplicate the selection instead of building the same shape twice.